Settings
Admin / Settings
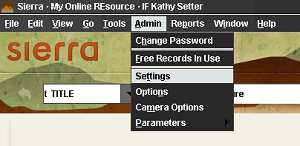
This is where you go to make initial choices and then changes to the way you want Sierra to look, which templates you want to open when creating something new, and to manage your macros. To access it, click Admin in the top menu bar, then click Settings. These settings are unique to each username (login). If more than one person uses the same login they will be using the same settings (although common for the circ desk this is not recommended for cataloging).
New Records
On this tab you define which template should open when you create a new bib record and a new item record.
In the section New Record Templates, click the down arrow at the end of the line for Bibliographic and choose the bib template for the format you need most often. Or, choose Always prompt, and each time you click the New icon to create a new bib record you will be asked which template you want to use.
Do the same thing for Item. Depending on how many items of differing formats you have to catalog in a given session, it may be most beneficial to sort your items into groups according to which template they use. Go in to Admin – Settings and select the template for the first group of items. When you move to the next group, go into Settings and change the template. If you have a small group of several different kinds of items it may make the most sense to select “Always prompt” and you will select the template needed for every item.
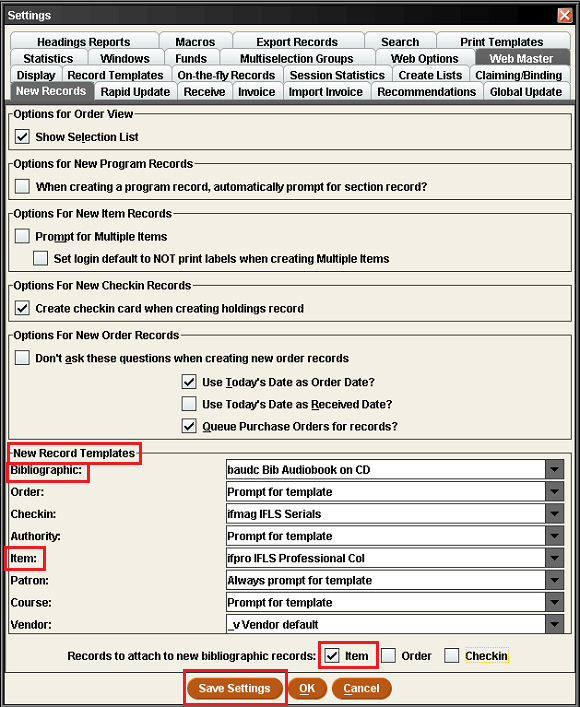
At the bottom of that screen you will see “Records to attach to new bibliograpohic records:” Check the box in front of Item.
Click Save Settings. Click OK to close Settings, or click on another tab.
Record Templates
On the Record templates tab you need to choose which templates will be available to you when creating new records. The templates listed under the Preferred Templates column are those that will be available in the drop down list in the New Records tab.
For Record type Bibliographic, in the right column scroll down until you see the Bib Audiobook on CD, Bib Monograph/book, Bib for DVD and Bib for Music CD templates. Highlight them and click the top arrow between the columns so those templates move to the left column under “Preferred Templates.”

Click the down arrow for Record type and choose Item. In the right column, scroll down to where the templates are for your library. Highlight all the templates that start with your two letter library code and move them over to the Preferred Templates column by clicking the top arrow between the columns.
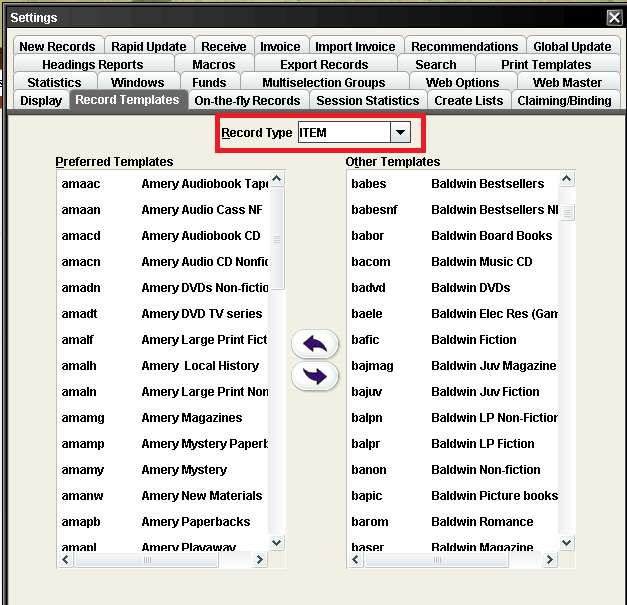
At the bottom of this screen, click Save Settings, then click OK to close Settings, or click on another tab.
To add a new template or edit an existing one, see instrustions here.
Session Statistics
As you are working Sierra keeps track of how many records you created, modified and deleted. If you wish to see this chart every time you close Sierra, on the Session Statistics tab, check the box in front of “View session statistics upon closing.”
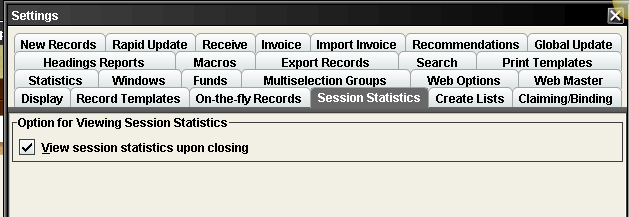
If you do not want to see this pop-up every time you close, uncheck the box.
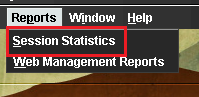
You can view your session statistics at any time by going to Reports in the top menu bar and clicking Session Statistics:
Windows
Sometimes it is helpful to compare two records when looking at subject headings, series statements, and author headings (100 and 700) when cataloging a similar title or a different format of the same title. You can easily copy and paste headings from one record to another when filling in missing information. This is best done by viewing records side-by-side.
If you want to look at bib records side-by-side you must set your login to multi-window mode. To do this, go to Admin – Settings and click on the Windows tab.
Click the radio button in front of Multi Window Mode.
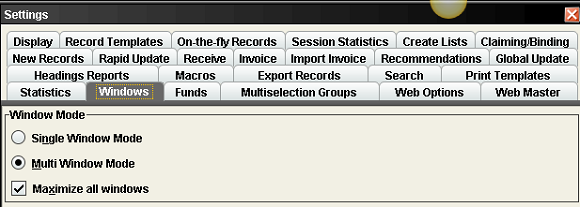
If you want to have records open to the biggest they can be on your screen, check the box in front of Maximize all windows.
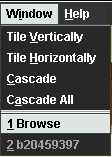
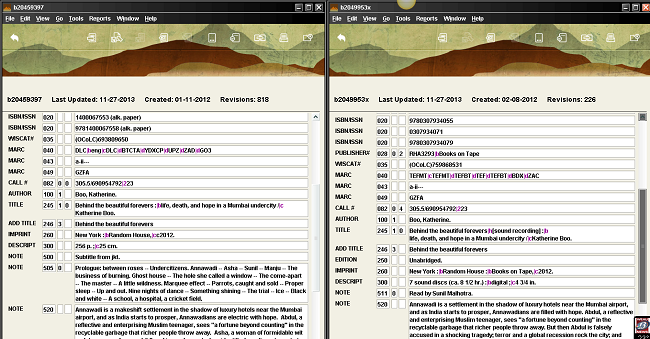
To tile two records, open one, go to Window – Browse, and open the other one. Then click Window – Tile Vertically.

Here is an example of two records tiled side-by-side.
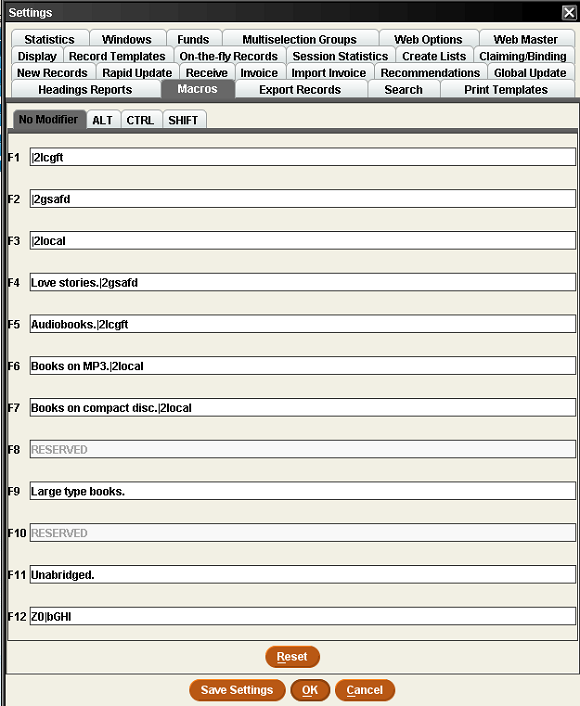
Macros
Macros are shortcuts that can either take you from function to function or enter a string of text. Each macro is assigned to an F key. More macros can be created using the Ctrl, Alt or Shift key in conjunction with an F key. This means there are 4 possible combinations for each F key. Because some F keys are reserved for basic Windows funtions, this means you can create a total of 44 macros.
To access the Macros tables, go to Admin – Settings and click on the Macros tab.
You want to create a macro for anything you do repeatedly. For cataloging it’s useful to have often-used suject headings and sub-headings (|vFiction, |vJuvenile literature) in a macro.
It is best to plan out what you want where before entering the macros so like things are together. For example, having the genre headings for sound recordings in the same table will help you remember where they are (although having a cheat sheet handy is useful too).
Click Save Settings whenever a macro is added or changed to make them permanent.
Below are some examples of macros used for cataloging. Find additional RDA-related macros here.
Print Templates for Spine Labels
If you are printing spine labels from Sierra, print templates need to be turned on and templates selected for spine labels.
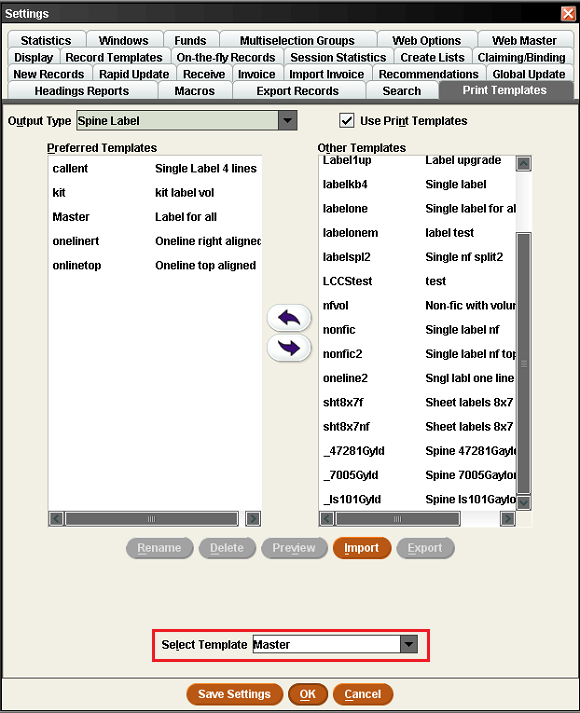
Go to Admin – Settings and click on the Print Templates tab.
Change the Output Type to Spine Label. Check the box in front of Use Print Templates.
From the Other Templates column on the right side, select the templates you want to use and move them over to the Preferred Templates column on the left by clicking on the label name to highlight it, then clicking on the top arrow between the columns. You can move over any templates you may want to use.
These are the most commonly used templates and what they are for:
- Master – Label for all This will print almost every type of call number and is recommended as the default.
- onelinert – Oneline right aligned This prints the call number in one line and is aligned with the right margin. It is used for Music CDs and thin children’s books when you want the call number to start at the lower edge of the item. It gives labels uniformity by lining up at the lower edge and moving up.
- onelinetop – Oneline top aligned Similar to oneline right aligned only printed along the top of the label; used when trimming is desired so less of the back sheet of a music CD is covered.
- callent – Single Label 4 lines Used for fiction call numbers that have 4 lines.
- Kit – Kit label vol Used for creating labels for book discussion kits
- cfspine – CF spine label This label has a smaller left margin and will print 12 characters across; used by libraries that print the full last name of the author on their fiction spine labels.
- labelspl2 – Single nf split2 Used for non-fiction call numbers where the decimal point and succeeding numbers are printed on a second line below the main Dewey number. This helps in shelf reading for longer numbers so they don’t wrap around the front of the book.
At the bottom of this window there is a Select Template dropdown; here is where you select the template you want to use. Choose Master, and come back here to change it if another label configuration is desired. Click Save Settings, then OK to exit the Settings window.
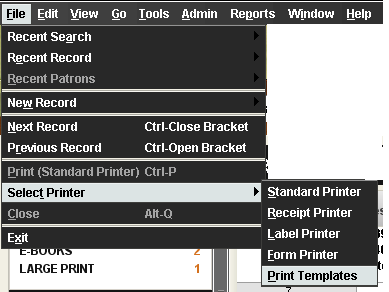
You also need to select the printer for printing spine labels. Go to File – Select Printer – Print Templates (do NOT select Label printer – that is for something else entirely).
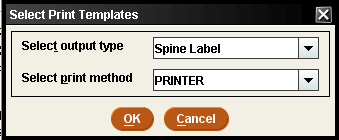
Change Select output type to Spine Label; leave Select print method at Printer. Click OK.
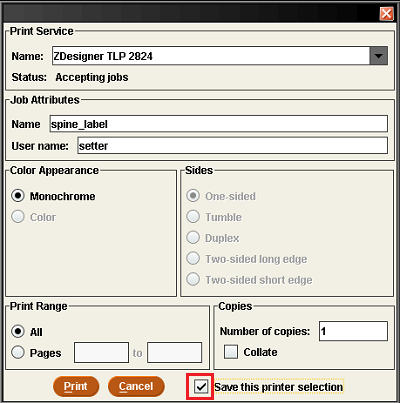
In the Print Service window, make sure the Zebra is listed in the Name box; if it is not there, use the down arrow to select it.
Click the box in front of Save the printer selection at the bottom of the window. Click Print.
Spine label printing is now set up. To print a label, the item record must be saved first. Then use Ctrl – L to print. Or, go to Tools – Print spine label. You can also print a spine label from a Summary screen with your item highlighted.